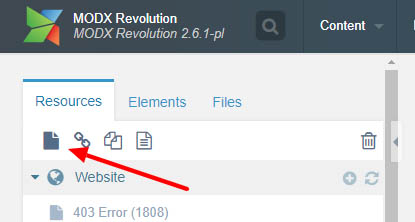
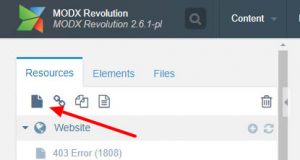
Step 1: Create a new Document by clicking on the Document icon under the MODX search bar.
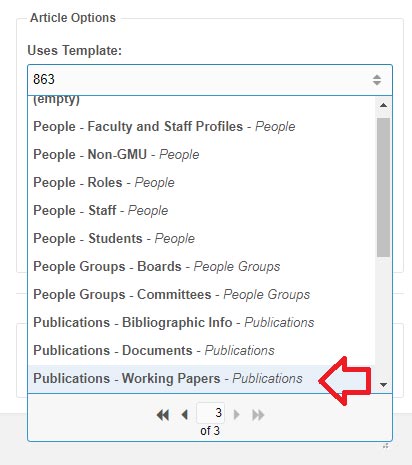
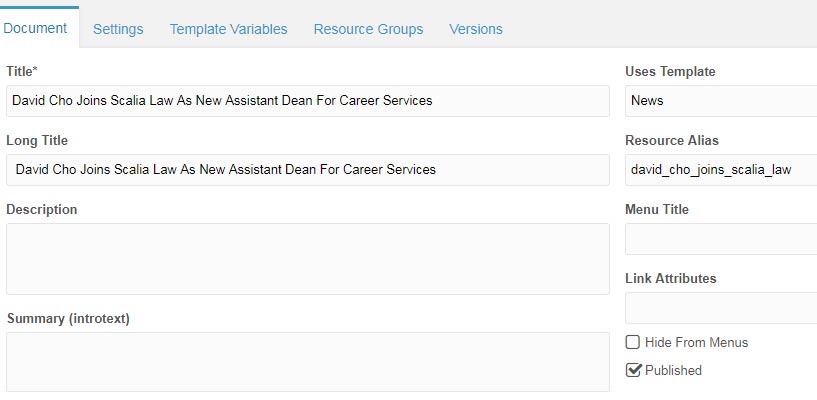
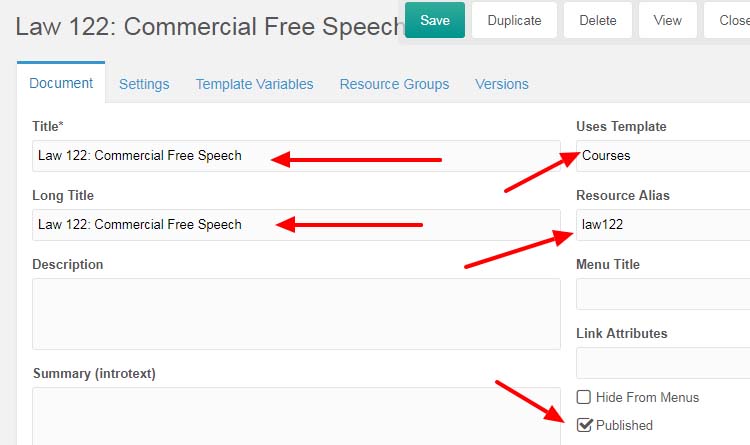
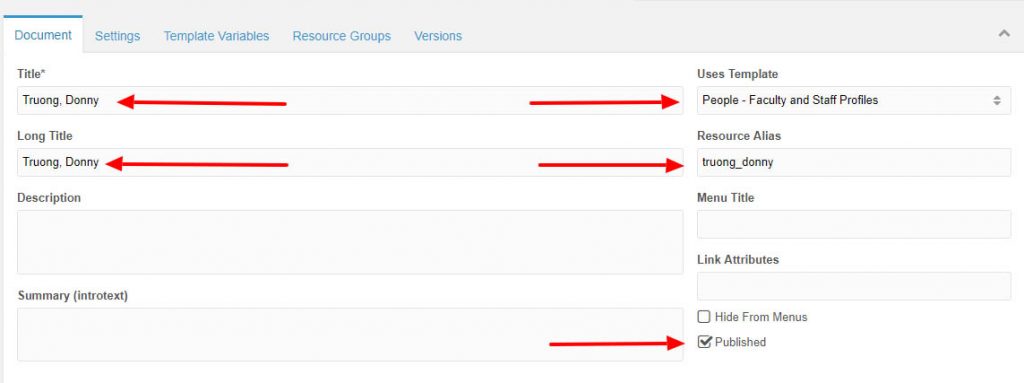
Step 2: Under the Document Tab, select the “People – Faculty and Staff Profiles” Template. Then enter the staff member’s Name under Title, Long Title, and Resource Alias in the format shown below. Please note that the Published checkbox will not be selected by default. When the Bio is complete, this box will need to be checked.
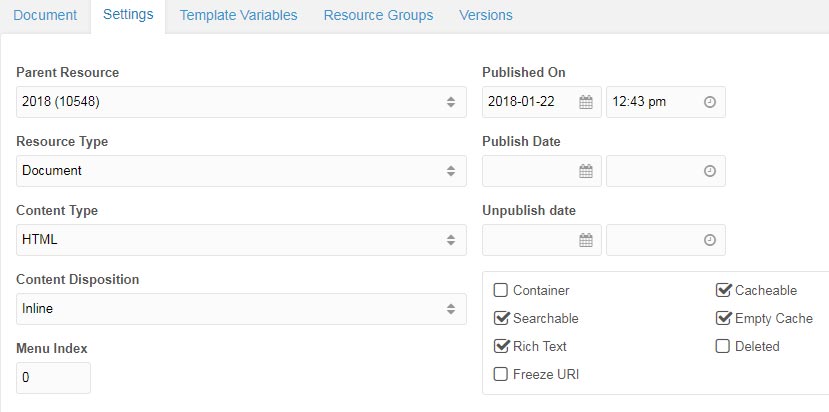
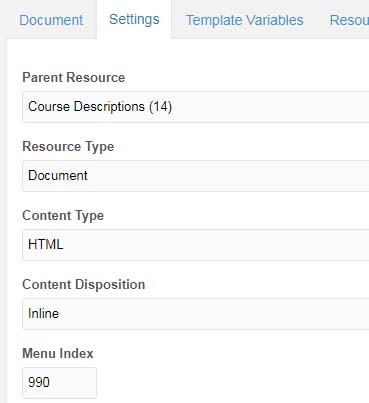
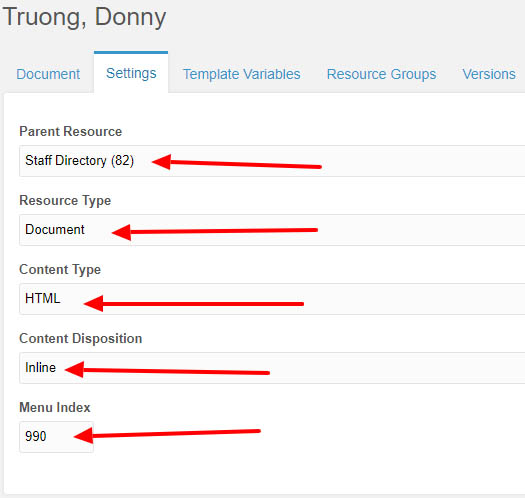
Step 3: Under the Settings Tab, Select the Parent Resource, and make sure the Resource Type, Content Type, Content Disposition and Menu Index have the following inputs:
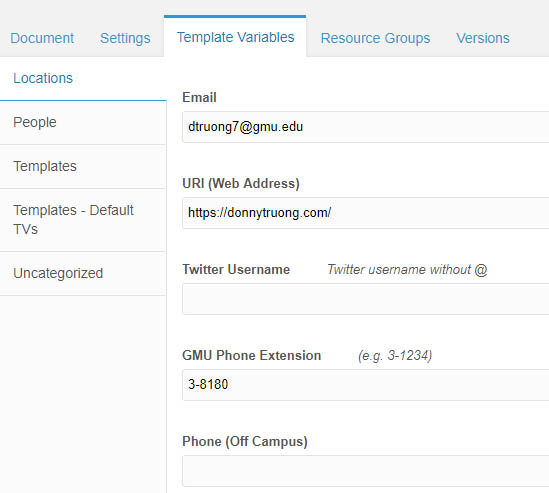
Step 4: The Template Variables tab will hold the majority of information for the Staff Member. Start with the Locations sub-tab. Here you will enter the Email, GMU Phone Extension, and Office Number. Please note the phone extension must follow the correct format (3-xxxx).
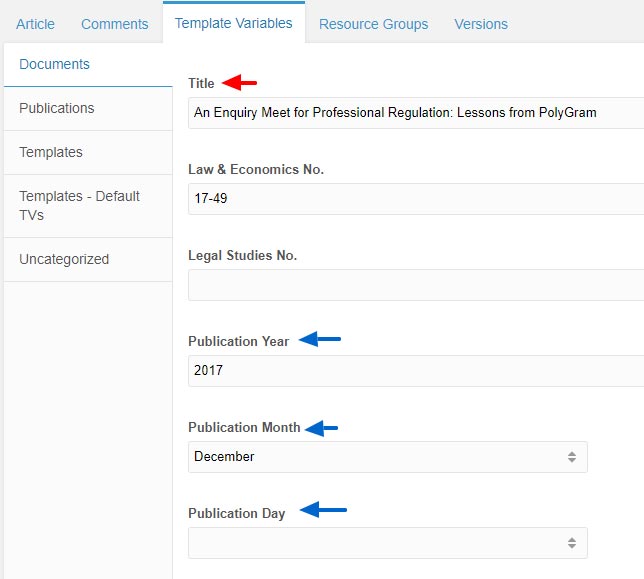
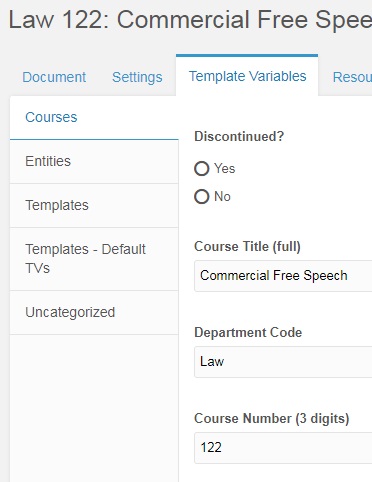
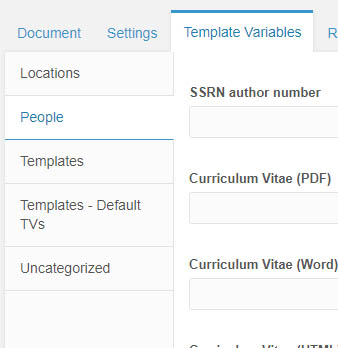
Step 5: The People sub-tab under Template Variables is very important. Start with the First Name, Middle Name, Last Name, to title the Staff page. A staff banner photo may be uploaded to the Photo Large area when a photo is available.
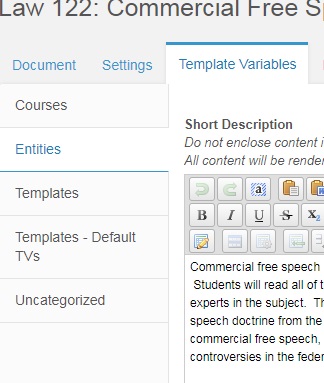
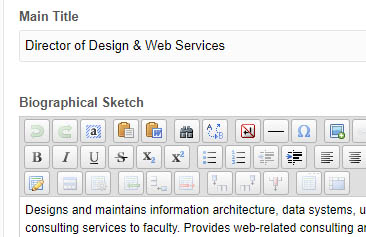
Scrolling down the People tab, enter the Staff Member’s professional title under Main Title, and include the Bio under Biographical Sketch. For Faculty, please select an Area of Expertise and Subjects Taught.
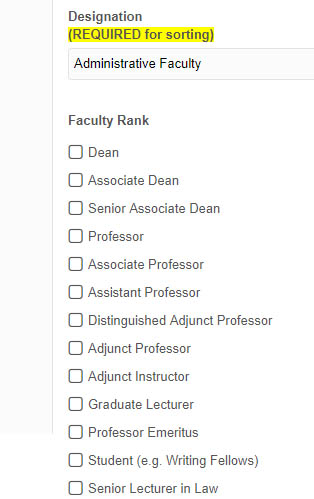
Further down, select the Designation, Faculty Rank, Highest Degree Obtained. and Alma Mater. You may enter up to six additional degrees in this section.
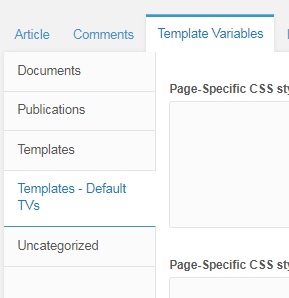
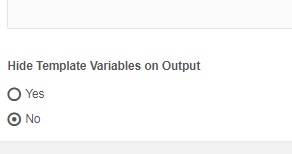
Step 6. (Optional) To remove the sidebar which is set by default, scroll back up to the sub-tab area and select Templates – Default TVs. From there select Yes from Hide Side Navigation.

At this point the Staff Bio page has all the required information to display correctly. You will need to select the green SAVE button found at the very top of the page to save your work and publish your page.

Optional: You may add additional information such as uploading a resume, including a professional website link, or Twitter username found in the People and Locations sub-tab, respectively.