
- Log into Flickr
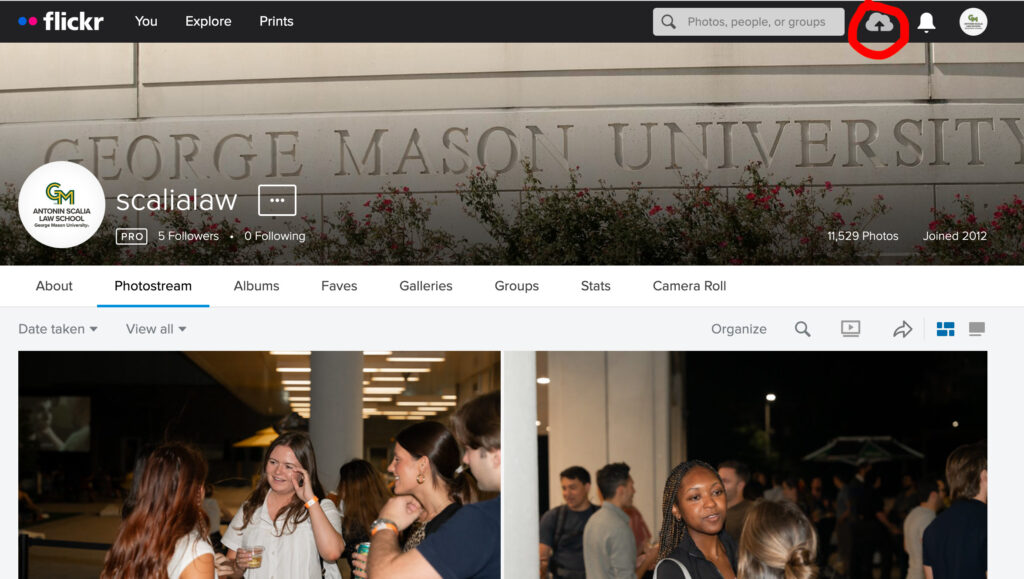
- Click on the upload icon at the top right corner of the page
- Drag and drop photos into the page
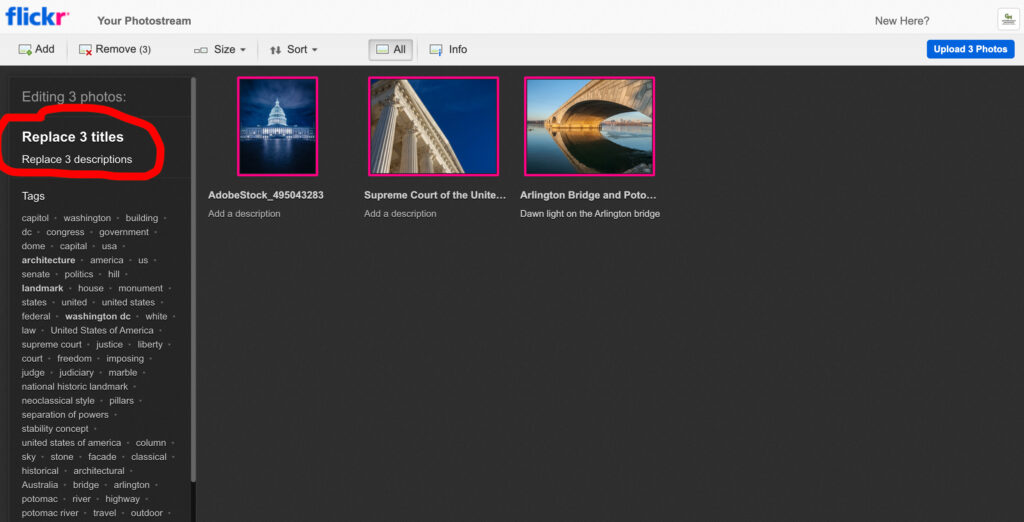
- On the left bar, replace titles and descriptions
- Scroll down and click on Add to albums. A small window will pop-up. Click on Create a new album. Give the new album a name
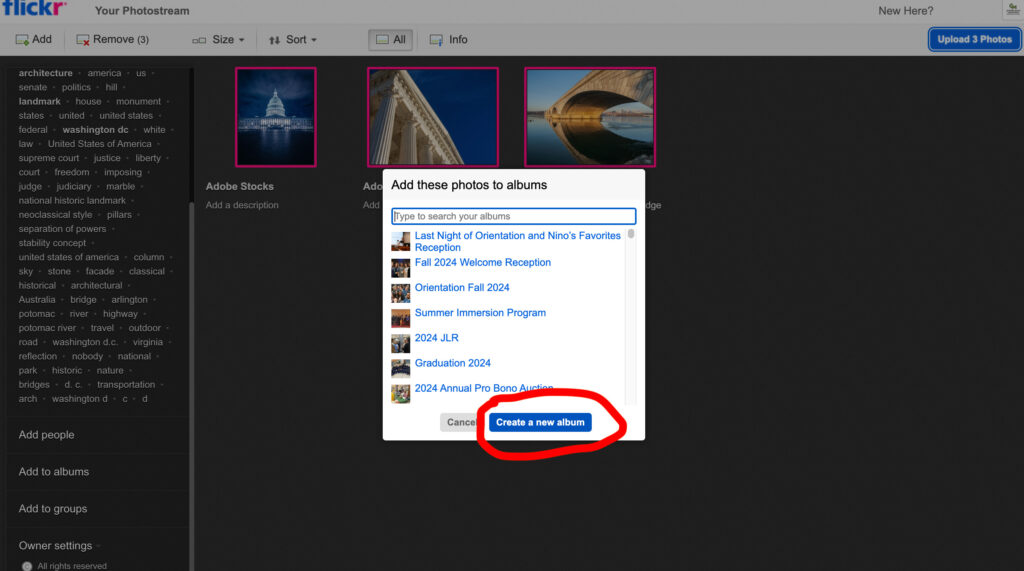
- Make sure the new album is selected then hit Done
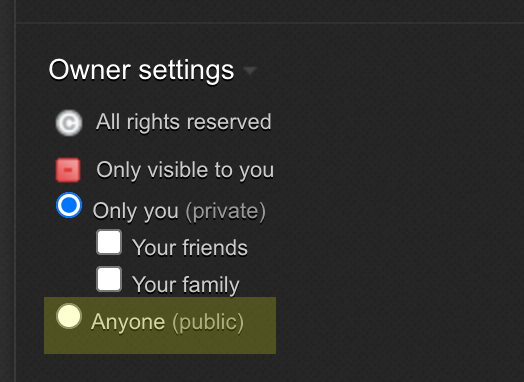
- Back to the left bar, scroll down to Owner setting. Choose Only you for private photos or Everyone for public
- Go over to the top-right corner, click on the Upload Photos button
- Once the photos are uploaded, the album will show up on the album landing page
- Hover the album, the icons will slide up. Click on the arrow icon and copy the URL to share the album

Category: Uncategorized
How to Create a PDF for the Student Profiles
Profiles for Incoming 1Ls needed to be created around August 19. Here are the instructions:
- Pull student submissions from Gravity Form: Submit a Photo for Our Class Roster. Export the following columns:
- First Name
- Last Name
- Undergraduate Institution
- Undergraduate Major
- Photo
- Open CSV file in Excel, remove duplicates (early submission) both in the CSV file and in Gravity Entries.
- Clean up Undergraduate Institution and Undergraduate Major to make sure they are consistent. Capitalize names if they are not.
- Sort by Student Type. Save as three different CSV files for: Incoming JD, Transfer, and Visitor.
- From each individual Student Type, sort by Last Name in alphabetical order.
- Open up an Excel template (previous version) with HTML columns, paste in the columns accordingly.
- Copy all the rows and columns from the Excel file then paste into an HTML file template.
- Open the HTML file in Chrome browser and check to see if the photos cropped properly. If a person’s head got cropped out, add a CSS class (
class=crop-center) in the person’simgelement:<img class=crop-center src=lastname-firstname.jpg>. - Once everything looks good, print from Chrome browser, then save as PDF.
- Open the PDFs in Adobe Illustrator to add the Student Type label on the top right corner of the page. (The AI file with labels will be linked to the PDF. When the PDF is updated, it will also update in the IA file.)
- Combine all PDFs, including the cover page, in Adobe Acrobat.
- Put everything on the ShareDrive.
How to Post Around the Law School Photos
We recently added a new section on the homepage call Around the Law School to showcase photos from our Flickr account. Here’s the instructions for updating the photos:
- Choose the best photo from the Flickr album we want to showcase. Create a photo with the dimensions of 600px by 400px.
- Log into MODX then navigate to the Around the Law School (ID#13628) directory
- Pick an existing resource and duplicate it. Paste in the text that corresponds to the banner (this text will also be use for the
alttag). Check the Mark All Unpublished radio button, then hit Save - Go to the new duplicated resource, make sure the Title and Long Title are the same
- Go to the Template Variable tab, upload the photo to Homepage Feature Image field (see screenshot)
- Scroll down to URL for In the News and enter a URL for the Flickr Album.
- Go back to the Document tab, activate the Published radio button and then hit Save. To remove the banner from the line up, deactivate the Published and then hit Save or delete the resource.

Duplicating Title in The Events Calendar Plugin
After upgrading The Events Calendar plugin to 6.0.3.1 and migrating to the new event data storage system, the admin in The Events Calendar displays duplicating titles. 
Add Slide to Display Monitors
- The slide should be a 2400px x 1500px jpg file.
- If the slide is sent in PowerPoint format, you can either take a screenshot of the slide and crop it to this size, or open in PPT and click File —> Export —> File Format [choose JPG]. This will show you the dimensions of the slide if you export it.
- Note: If taking a screenshot, first make sure that any words highlighted by spell check are approved so that the red underline does not appear in the image.
- If it’s not 2400px x 1500px in Export, you can modify the dimensions: Design —> Slide Size —> Page Setup —> Slide Sized For. Choose this dropdown option: “On-screen Show 16:10”. If you do not see this option, you can choose Slide Size and enter Width=2400px and Height=1500px.
- Make sure logos follow Branding Guidelines.
- Make sure everything scaled properly (you may need to resize images and/or realign text) and then export as JPG.
- Navigate to the Events admin site.
- In left nav bar, choose Soliloquy
- Click on the Soliloquy Slider named “Images Slider”
- In “Drag and Drop Files to Upload”, click “Select Files from Your Computer”
- Upload the 2400px x 1500px jpg file
- It make take a minute to load, but the slide will appear in “Currently in Your Slider”. It will automatically be placed at the end of the current slide rotations (drag and move it to a different spot in the rotation).
- To set the start and stop date for when you want the slide to play, click on the blue box with the pencil icon in the top right corner of the new slide. Check the “Schedule Slide?” box. Enter a “Start Date” and “End Date”. Make sure to choose the time of day in each. Click Save Metadata.
- Now that the slide has been added and scheduled, in the Publish box in the top right corner, click Update.
- Clear the cache (ask Donny for the link).
- If you added the slide to play immediately, check to see if the slide is playing.
Create Course Schedule HTML Table Using R
Referenced in steps below: Course Schedule Instructions.
- Save a copy of the original Excel file to come back to later for the Notes sections.
- Open up the original Excel file, merge multiple faculty into one row, then delete all the empty rows.
- Make sure columns are identical to the column names in script (do not include Room Number or First Name of Instructor). Delete hidden columns (Room Number, First Name of Instructor, etc.). Make sure column names match these: CRN#, CRS#, SEC, Course Title, Instructor, Cr Hr, Days, Time, Room, Exam Date, Exam Time
- Make sure footnotes are standardized, e.g., (E) and not (E ) with a space (Update: script has been updated to account for this)
- Remove all rows that are not the table header (first row) or the courses.
- Save DAY and EVE sheets each as two new csvs by highlighting all cells with data and copying/pasting them into a new file/save as csv (to avoid extra blank columns that may be present by saving entire sheet). Do not open them (especially in Excel) once they are saved, because this may change how the Section numbers are interpreted and may cause 001 to be 1, and so forth.
- The R code below covers Steps 2 – 6 in Course Schedule Instructions to create the HTML table.
- In R code, update the “dayNotes” variable to match the number of Day Notes. Update the file paths/names for input files and output file.
- Paste output into an HTML editor. Copy and paste notes from the copy of the original Excel file to the bottom of the HTML page.
- Once everything looks good, paste into MODX.