- Go to Manage Site. Select Destinations on the left hand bar.
- Click on the server. Hit Edit.
- Go to Extensions to Strip field and enter:
.html,.php
Source: Destinations

.html,.php
Source: Destinations

Profiles for Incoming 1Ls needed to be created around August 19. Here are the instructions:
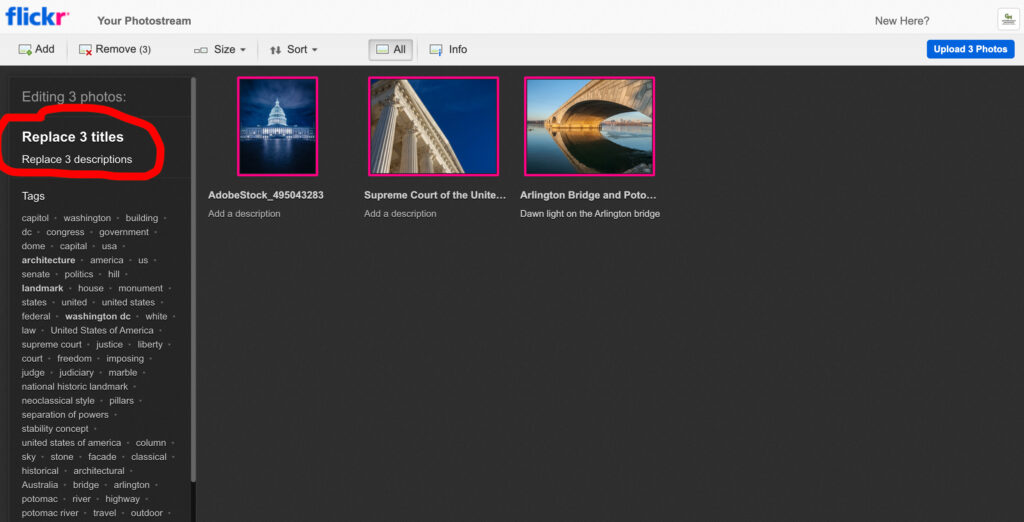
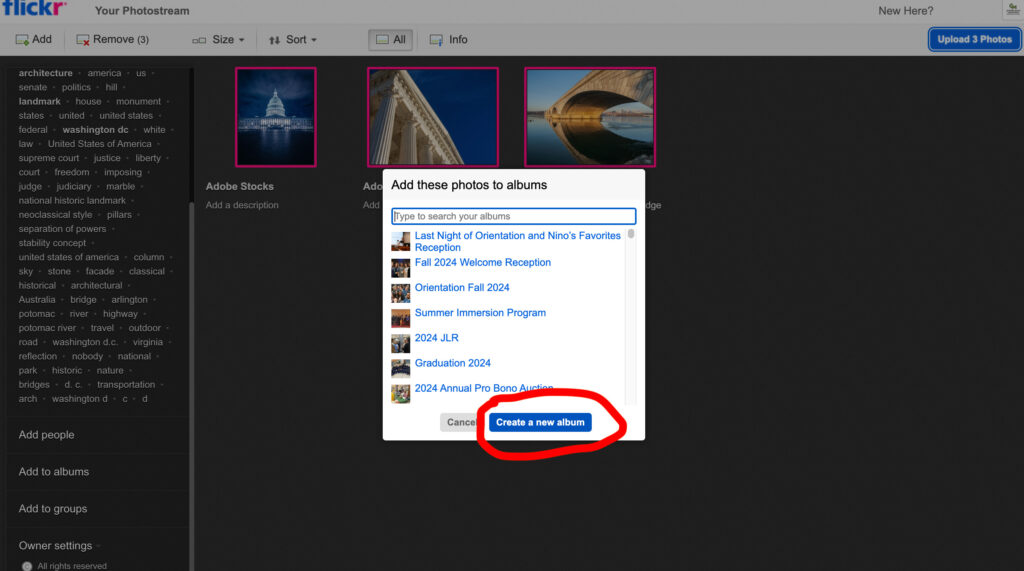
class=crop-center) in the person’s img element: <img class=crop-center src=lastname-firstname.jpg>.We recently added a new section on the homepage call Around the Law School to showcase photos from our Flickr account. Here’s the instructions for updating the photos:
alt tag). Check the Mark All Unpublished radio button, then hit Save
Instructions for adding Class Notes in MODX
assets/images/alumni/thumbs/class_notes.png 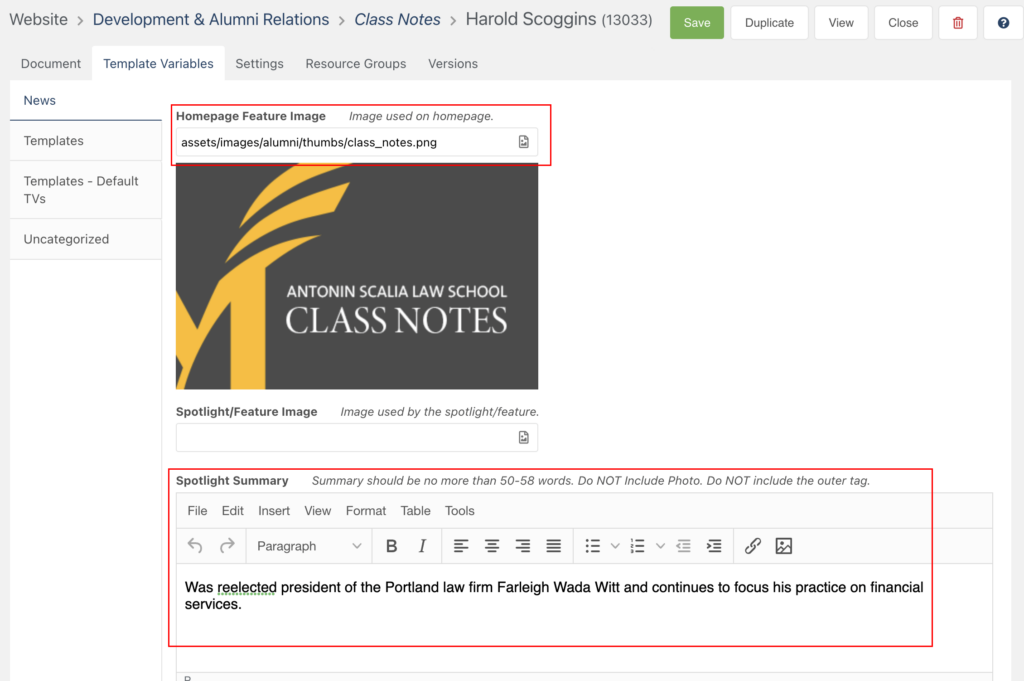

The hero banners are randomly loaded each time a visitor land on our homepage. Here are the steps to publish or unpublished them:
alt tag). Check the Mark All Unpublished radio button, then hit Save
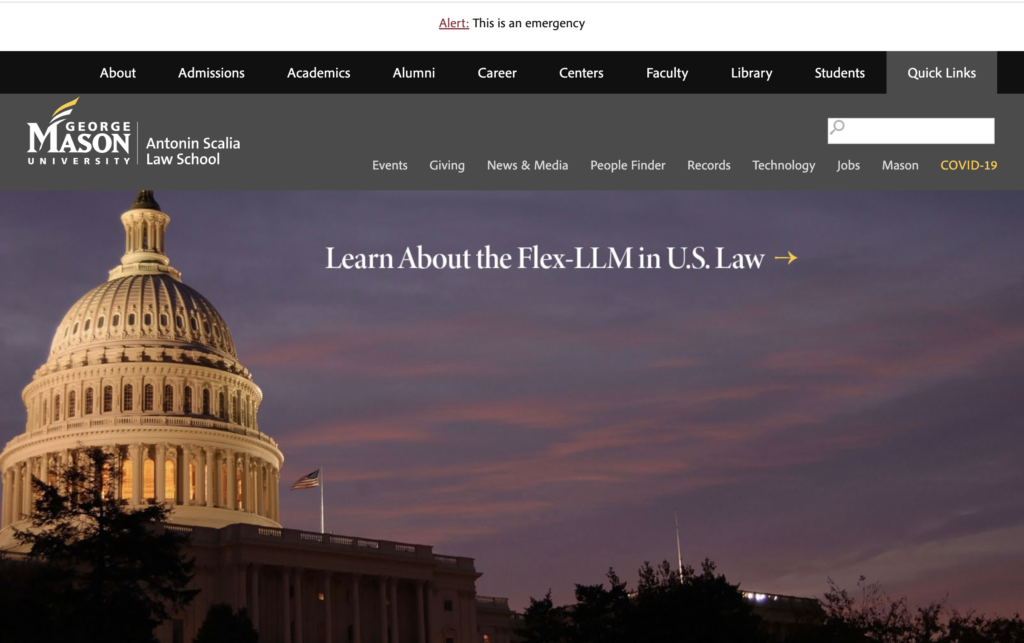
In case of an emergency, we have implemented an alert message that would appear on every page at law.gmu.edu. Here’s an example:
[[-getResources? &parents=`12995` &depth=`1` &tpl=`emergency_alert` &tvPrefix=`` &includeTVs=`1` &limit=`1` ]]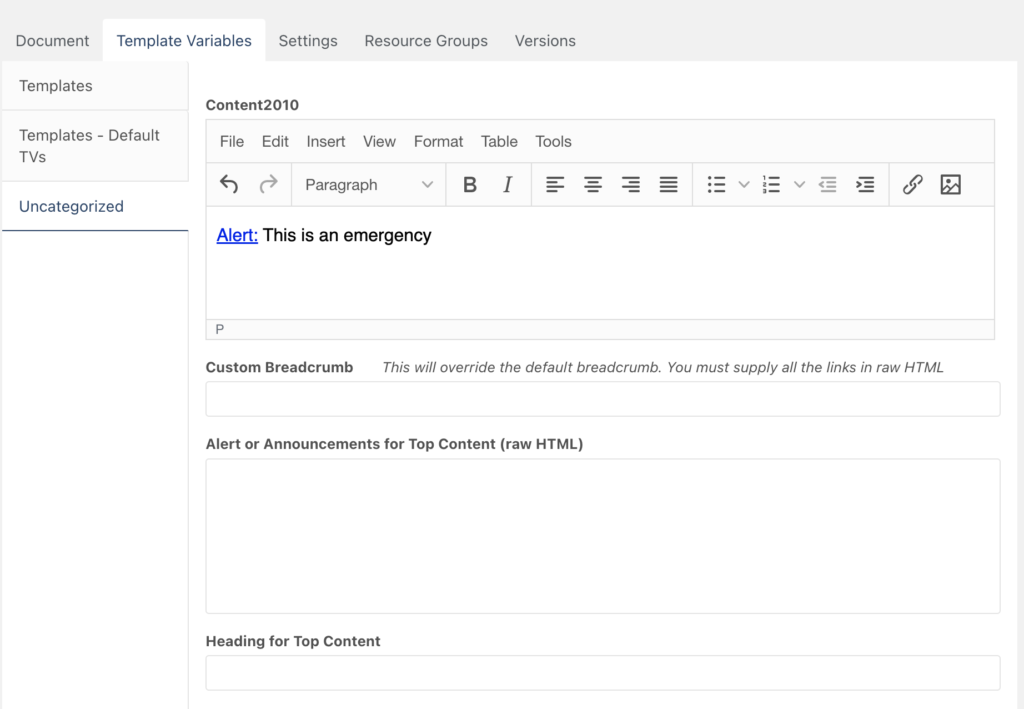
To deactivate the Emergency Alert Message, simply unpublished the Emergency Message resource (id#12996). Comment out the GetResource snippet (by adding the hyphen back into the 2012_template_top chunk) is not required, but a good practice to prevent an extra dynamic call.
CSS style for emergency alert can be modified in the emergency_alert chunk.
Here’s the TV page for Subjects Taught with the old output “Checkbox Options”:
@EVAL return $modx->runSnippet('eval_get_subject_category_id');
Just change it to:
@SNIPPET eval_get_subject_category_id
After upgrading The Events Calendar plugin to 6.0.3.1 and migrating to the new event data storage system, the admin in The Events Calendar displays duplicating titles. 