
- From the top right (hamburger) menu icon > Sites. You can select multiple sites to publish, however you cannot select which destinations to publish to, it will publish to all enabled and checked by default destinations. If you need to select the destinations, you can right click on the site name and select Publish. Then you will get a destination selection window.
- If you are in a site, you can publish it from Manage Site > More > Publish.
- If you are in a site in the Site Content area, you can publish the top level folder, either from the right click menu or navigate to the folder and use the publish button near the top right.
Author: scalialaw
How to Create A Flickr Photo Album
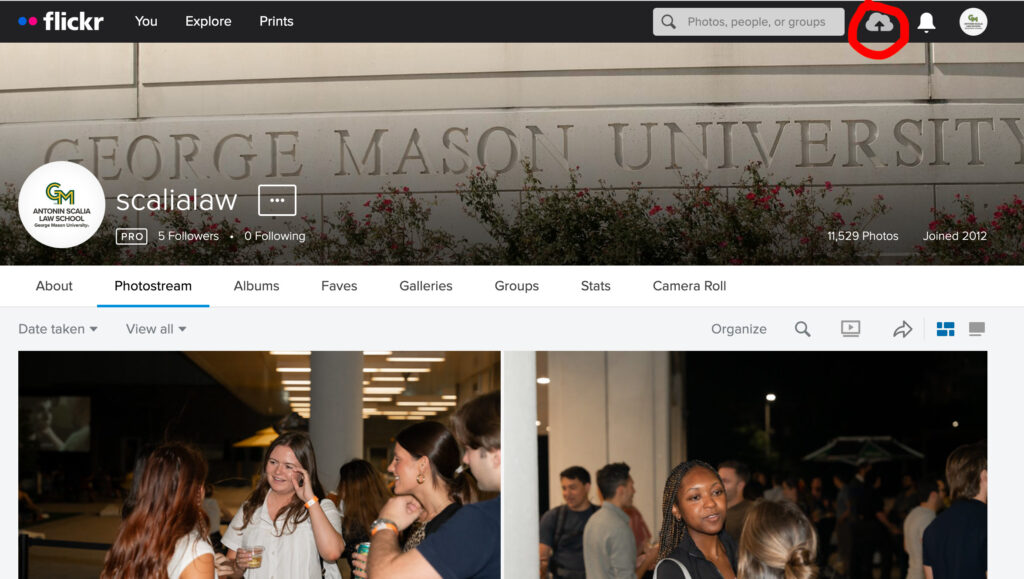
- Log into Flickr
- Click on the upload icon at the top right corner of the page
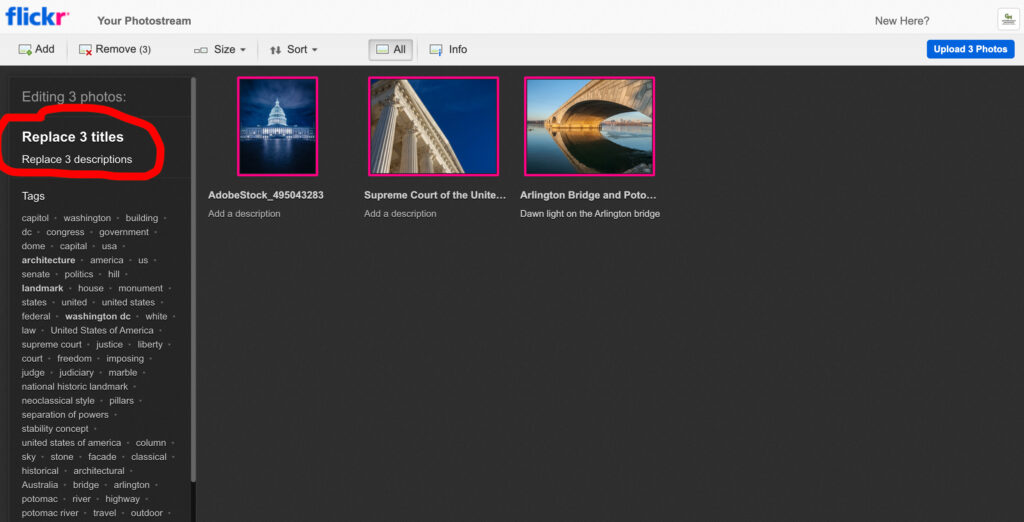
- Drag and drop photos into the page
- On the left bar, replace titles and descriptions
- Scroll down and click on Add to albums. A small window will pop-up. Click on Create a new album. Give the new album a name
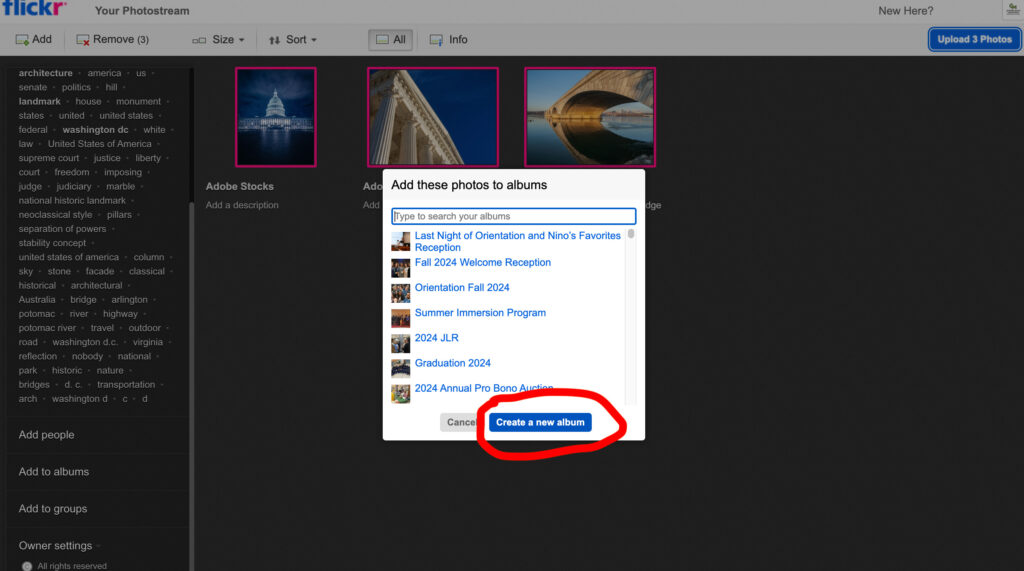
- Make sure the new album is selected then hit Done
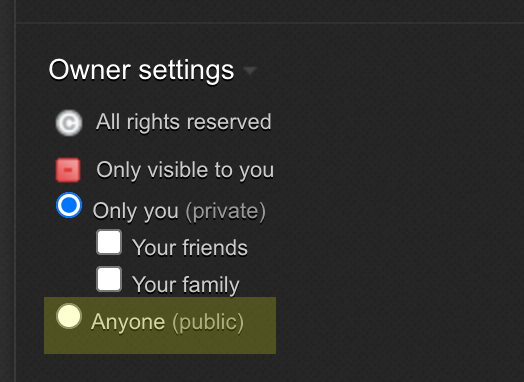
- Back to the left bar, scroll down to Owner setting. Choose Only you for private photos or Everyone for public
- Go over to the top-right corner, click on the Upload Photos button
- Once the photos are uploaded, the album will show up on the album landing page
- Hover the album, the icons will slide up. Click on the arrow icon and copy the URL to share the album

How to Create a PDF for the Student Profiles
Profiles for Incoming 1Ls needed to be created around August 19. Here are the instructions:
- Pull student submissions from Gravity Form: Submit a Photo for Our Class Roster. Export the following columns:
- First Name
- Last Name
- Undergraduate Institution
- Undergraduate Major
- Photo
- Open CSV file in Excel, remove duplicates (early submission) both in the CSV file and in Gravity Entries.
- Clean up Undergraduate Institution and Undergraduate Major to make sure they are consistent. Capitalize names if they are not.
- Sort by Student Type. Save as three different CSV files for: Incoming JD, Transfer, and Visitor.
- From each individual Student Type, sort by Last Name in alphabetical order.
- Open up an Excel template (previous version) with HTML columns, paste in the columns accordingly.
- Copy all the rows and columns from the Excel file then paste into an HTML file template.
- Open the HTML file in Chrome browser and check to see if the photos cropped properly. If a person’s head got cropped out, add a CSS class (
class=crop-center) in the person’simgelement:<img class=crop-center src=lastname-firstname.jpg>. - Once everything looks good, print from Chrome browser, then save as PDF.
- Open the PDFs in Adobe Illustrator to add the Student Type label on the top right corner of the page. (The AI file with labels will be linked to the PDF. When the PDF is updated, it will also update in the IA file.)
- Combine all PDFs, including the cover page, in Adobe Acrobat.
- Put everything on the ShareDrive.
How to Post Around the Law School Photos
We recently added a new section on the homepage call Around the Law School to showcase photos from our Flickr account. Here’s the instructions for updating the photos:
- Choose the best photo from the Flickr album we want to showcase. Create a photo with the dimensions of 600px by 400px.
- Log into MODX then navigate to the Around the Law School (ID#13628) directory
- Pick an existing resource and duplicate it. Paste in the text that corresponds to the banner (this text will also be use for the
alttag). Check the Mark All Unpublished radio button, then hit Save - Go to the new duplicated resource, make sure the Title and Long Title are the same
- Go to the Template Variable tab, upload the photo to Homepage Feature Image field (see screenshot)
- Scroll down to URL for In the News and enter a URL for the Flickr Album.
- Go back to the Document tab, activate the Published radio button and then hit Save. To remove the banner from the line up, deactivate the Published and then hit Save or delete the resource.

Adding Class Notes in MODX
Instructions for adding Class Notes in MODX
- Navigate to the Class Notes directory (ID12416)
- Right click on an existing alumni, choose Duplicate from the dropdown. Add a new name (last name, comma, first name. Example: smith, john). Check Redirect to duplicate. Select Make all unpublished. Hit Save.
- On the Document tab, change the name in the Long Title field with first name than last name (Example: John Smith).
- Go to Template Variables tab, upload the alumni photo to Homepage Feature Image field. Make sure the image is 400px by 250px. If no photo is provided, use the default image:
assets/images/alumni/thumbs/class_notes.png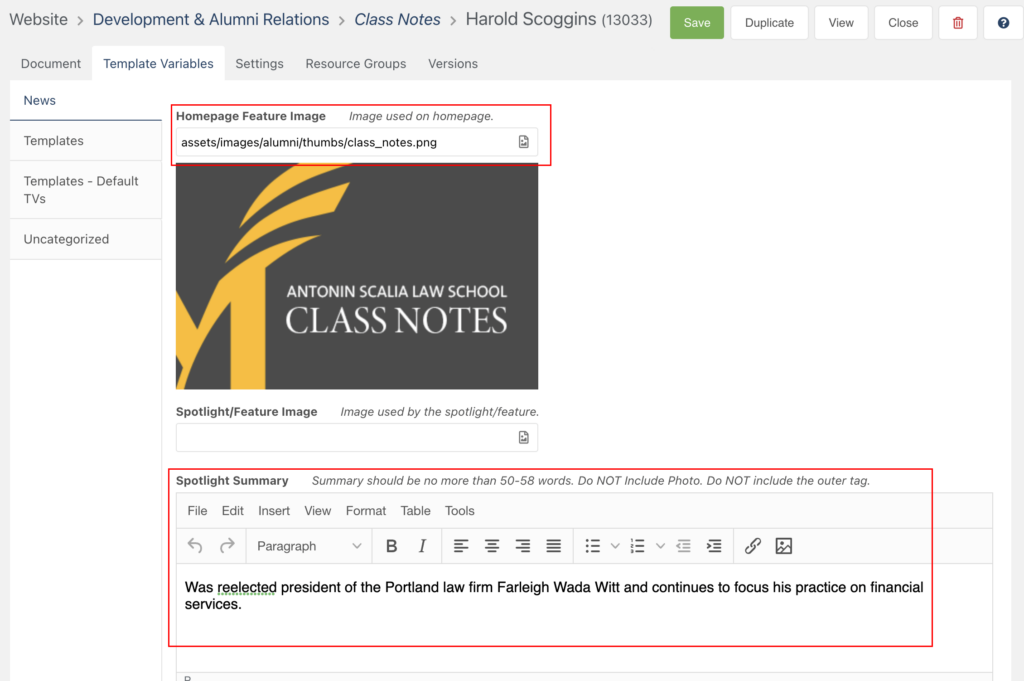
- Enter text in the Spotlight Summary field.
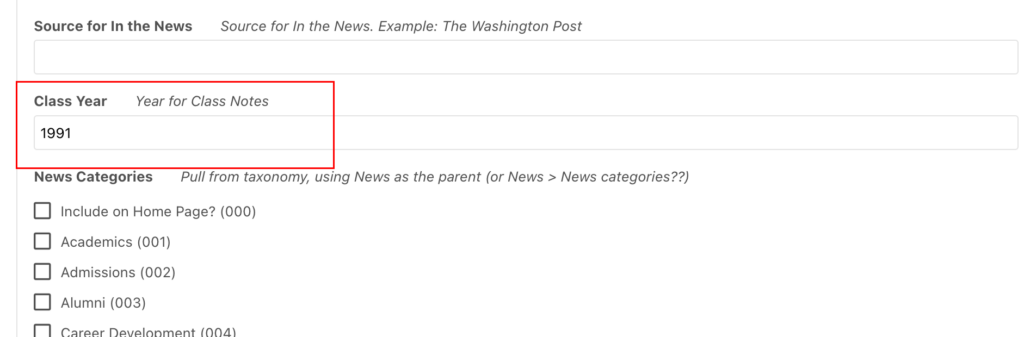
- Scroll down to the Class Year field, add the year in digits. Example: 1991
- Return to the Document tab, activate the Published button, enter the Publish On date, then hit the Save button.

How to Post Homepage Hero Banners
The hero banners are randomly loaded each time a visitor land on our homepage. Here are the steps to publish or unpublished them:
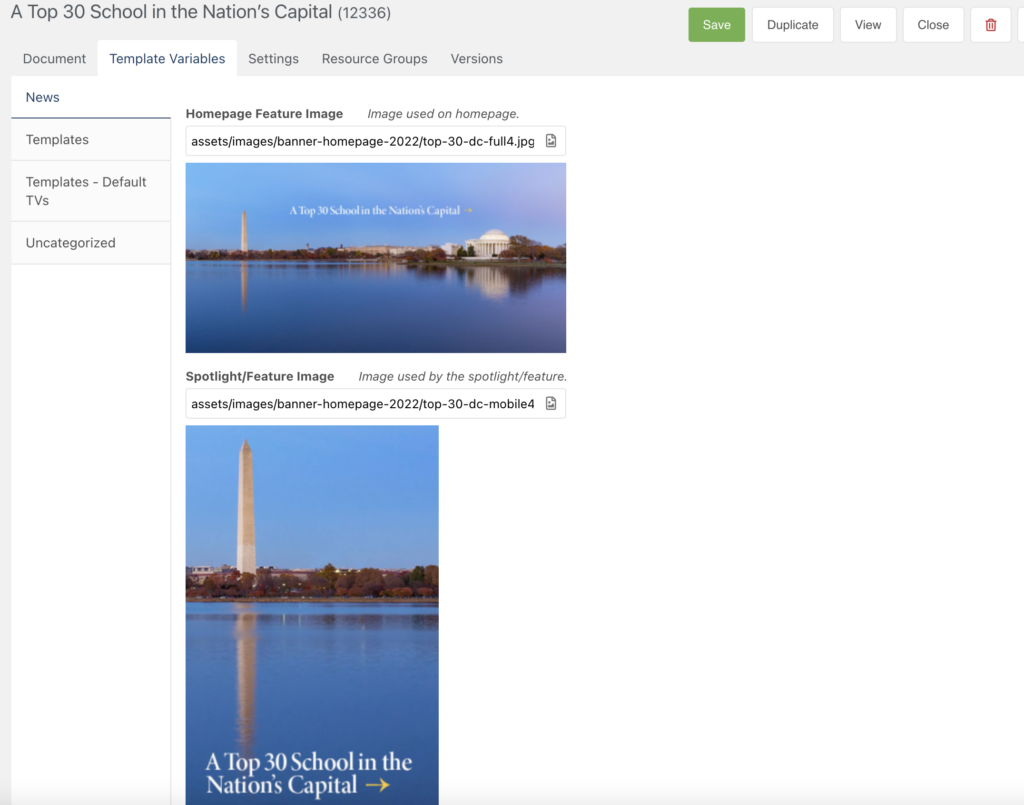
- Create two banners: desktop (1600px by 800px) & mobile (400px by 600px)
- Log into MODX then navigate to the Home Banners (ID#12335) directory
- Pick an existing resource and duplicate it. Paste in the text that corresponds to the banner (this text will also be use for the
alttag). Check the Mark All Unpublished radio button, then hit Save - Go to the new duplicated resource, make sure the Title and Long Title are the same
- Go to the Template Variable tab, upload the desktop version to Homepage Feature Image field and the mobile version to Spotlight/Feature Image (see screenshot)
- Scroll down to URL for In the News and enter a URL. A URL is required. If there’s no URL, the link will be defaulted to the homepage
- Go back to the Document tab, activate the Published radio button and then hit Save. To remove the banner from the line up, deactivate the Published and then hit Save or delete the resource.
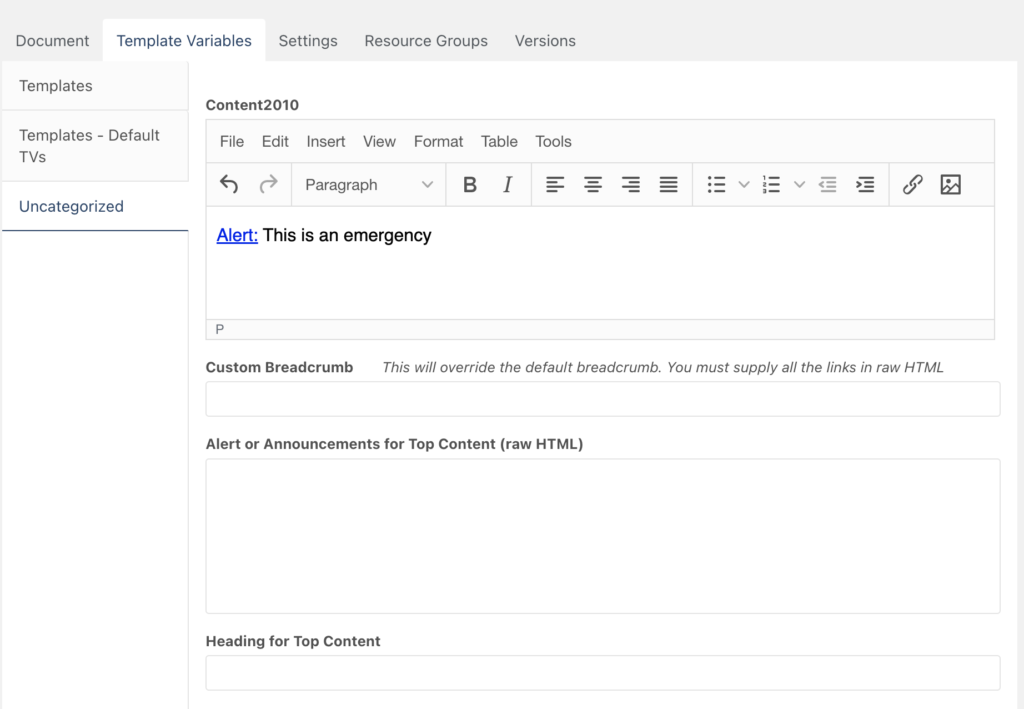
Emergency Alert Message
In case of an emergency, we have implemented an alert message that would appear on every page at law.gmu.edu. Here’s an example:
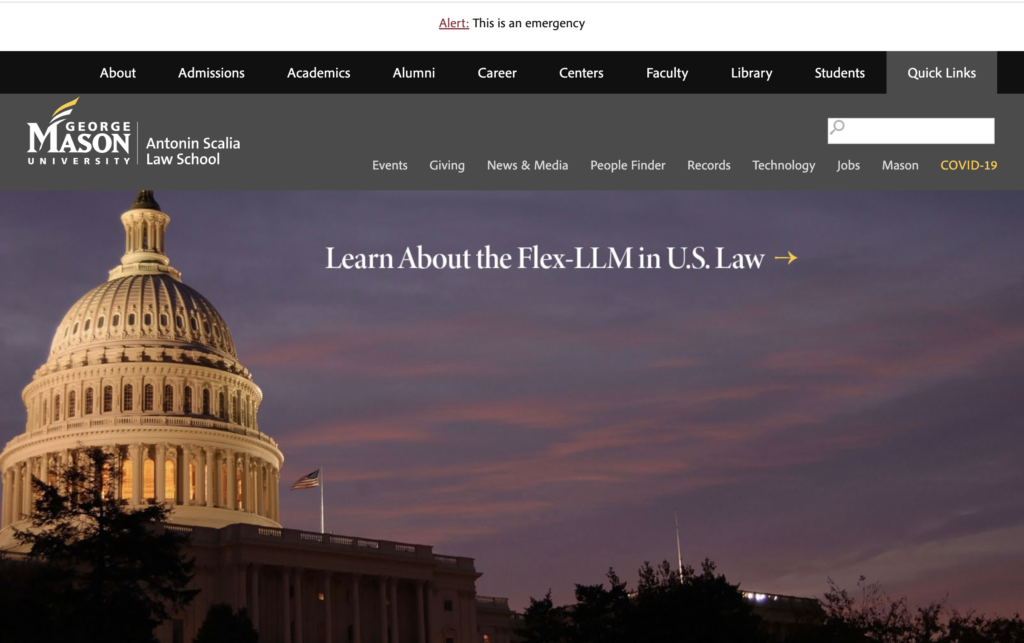
To Activate the Emergency Alert Message
- Log into MODX Manager, navigate to the Emergency container (id#12996), and open up the Emergency Message resource (id#12996).
- Go to the Template Variables tab, select the Uncategorized tab on the left. Write an emergency alert message in the Content2010 box, which is the first box. Return to the Document tab, click on the Published button, then hit the Save button.
- Search for the 2012_template_top chunk, scroll down to this line (around line 29):
[[-getResources? &parents=`12995` &depth=`1` &tpl=`emergency_alert` &tvPrefix=`` &includeTVs=`1` &limit=`1` ]]
Remove the first hyphen (-) to activate GetResources. (Because we hardly used this emergency alert message, activating this snippet might affect the site performance when we are not using it)
To Deactivate the Emergency Alert Message
To deactivate the Emergency Alert Message, simply unpublished the Emergency Message resource (id#12996). Comment out the GetResource snippet (by adding the hyphen back into the 2012_template_top chunk) is not required, but a good practice to prevent an extra dynamic call.
CSS Style
CSS style for emergency alert can be modified in the emergency_alert chunk.
Fixing MODX Snippet Output
Here’s the TV page for Subjects Taught with the old output “Checkbox Options”:
@EVAL return $modx->runSnippet('eval_get_subject_category_id');
Just change it to:
@SNIPPET eval_get_subject_category_id
Duplicating Title in The Events Calendar Plugin
After upgrading The Events Calendar plugin to 6.0.3.1 and migrating to the new event data storage system, the admin in The Events Calendar displays duplicating titles. 
Adding Courses to Focus Areas Dynamically
To add a course to the JD Focus Areas & Concentrations, go to the specific course page under the Course Descriptions directory, navigate to the Template Variables tab, stay on the Courses tab,
scroll down to the Focus Areas & Concentrations TV (course_focus_areas _concentrations), then check the appropriate box.

Input Option Values
The following input values are placed in course_focus_areas _concentrations TV:
Administrative Law and Government Regulation==administration_government||Antitrust Law==antitrust||Business & Financial Regulation==business_financial||Constitutional Law==constitutional||Criminal Law and Procedure==criminal_procedure||Cyber Law==cyber||Environmental & Energy Law=environmental_energy||Family Law and Estate Planning==family_estate||Immigration & Human Rights Law==immigration_human_rights||Intellectual Property==intellectual_property||International & Comparative Law==international_comparative||Labor & Employment Law==labor_employment||Law & Economics==law_economics||Litigation & Alternative Dispute Resolution==litigation_alternative_depute||National Security Law and Policy==national_security||Patent Law==patent||Public Interest Law==public_interest||Tax Law==tax
Here’s the chunk called focus_areas_concentrations_list:
<li><a href="[[~[[+id]]]]">[[+pagetitle]]</a></li>
Here’s the getResources:
<ul>

[[getResources? &parents=`14` &tpl=`focus_areas_concentrations_list` &limit=`0` &showHidden=`0` &depth=`2` &includeTVs=`1` &tvPrefix=`` &tvFilters=`%administration_government%` &sortbyTV=`course_number` &sortdirTV=`ASC`]]

</ul>