George Mason University Antonin Scalia Law School

How to Create a New Event

Instructions for adding an event to our Calendar of Events. Please note that we only publish events that are open to law students, faculty, and staff. Our target audience for the public calendar is law students. Please do not list private or “by invitation only” events on here.

  1. Login into the Calendar of Events website. If you access the website outside of the George Mason network, you would need to log into our VPN first.
  2. From the Event section on the left-hand menu or the drop-down menu at the top, choose Add Event.
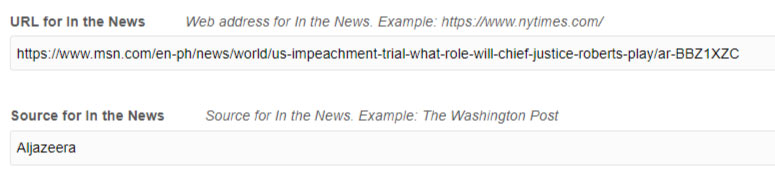
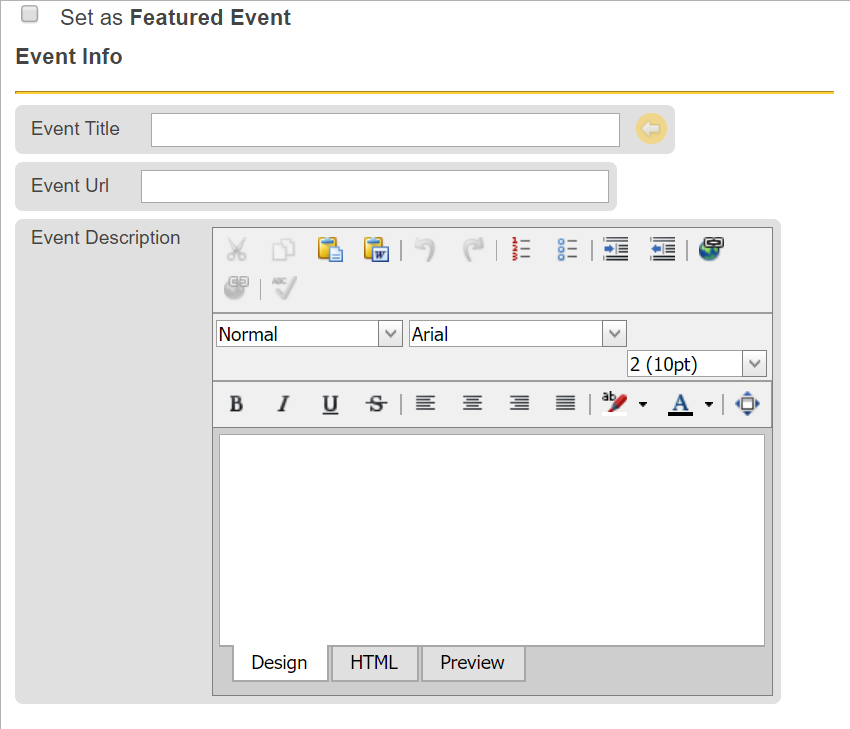
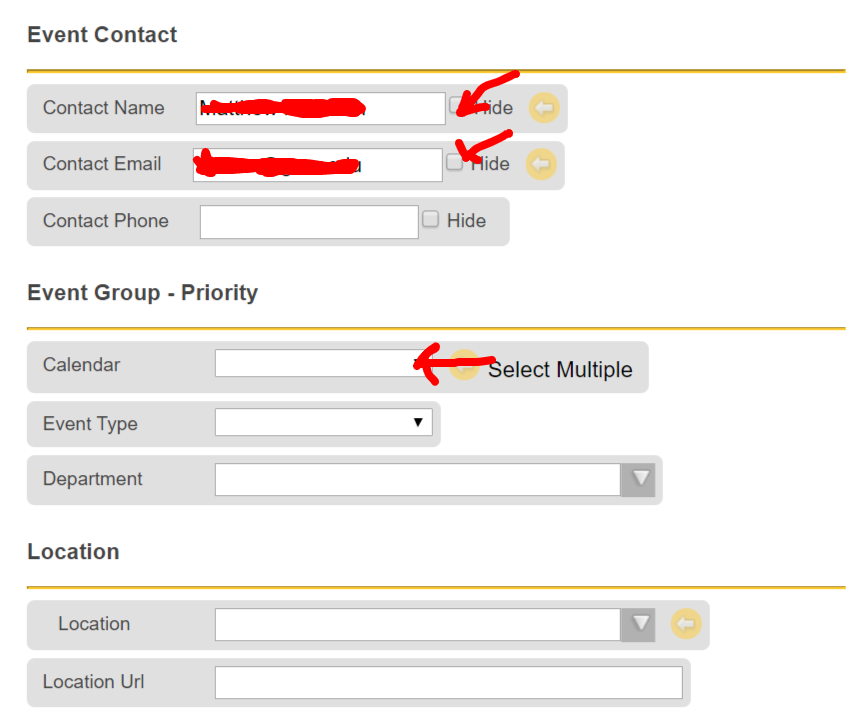
  3. Add Title, Description, Time & Date, Location (check to see if the location existed), Organizers (check to see if the organizer existed), and Event URL.
  4. Ignore Event Cost, Excerpt, Custom Field, and Slugs.
  5. For Discussion, uncheck Allow comments.
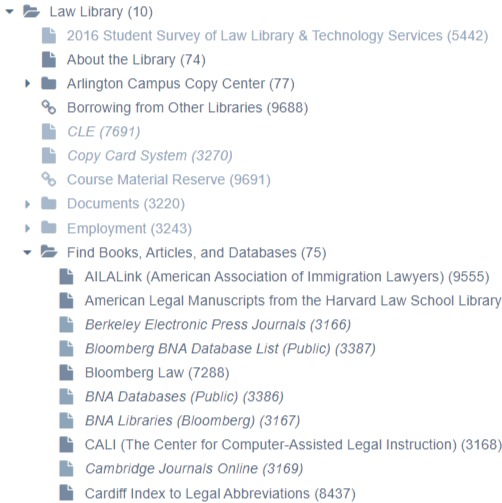
  6. For Event Categories, check all that are appropriate or add new category if necessary.
  7. For Event Options, leave it blank unless you want to hide it from listing.
  8. Ignore Custom header.
  9. For Featured image, please crop your image to 1200px x 675px for consistency.
  10. Hit Publish when you are finished.

Image Sizes for Scalia Law Websites

A quick reference for image sizes on Scalia Law websites. The measurements are in px unit. The dimensions are listed as width by height: w x h.

Banners for the Main Site

Spotlights & In the News

Icons

Banner for WordPress Sites

Layout Guides for the Law School Main Website

Here are some quick layout guides for the main law school website.

To create a simple button (see visit campus page), add the button class.

<div class="button">
	<a href=""></a>
</div>

To create three buttons in three columns with three different colors (see homepage), add grid3 and color-buttons classes:

<div class="grid3 color-buttons">
	<a href=""></a>
	<a href=""></a>
	<a href=""></a>
</div>

To create four boxes in four columns with four different colors, (see homepage), add grid4, color-buttons, and boxes classes:

<div class="grid4 color-buttons boxes">	
	<a href=""></a>
	<a href=""></a>
	<a href=""></a>
	<a href=""></a>
</div>

For a two-column layout (see the top of the People Finder page), use the grid2 class:

<div class="grid2">
	<section></section>
	<section></section>
</div>

For a three-column layout (see contact information on the Records Office page), use the grid3 class:

<div class="grid3">
	<section></section>
	<section></section>
	<section></section>
</div>

For a four-column layout (see icons on the Career page), use the grid4 class:

<div class="grid4">
	<section></section>
	<section></section>
	<section></section>
	<section></section>
</div>

For a two-column layout with one column takes up two-third of the space (see JD Admissions page) , add span2 class on that column:

<div class="grid3">
        <section></section>
	<section class="span2"></section>
</div>

For a two-column layout with one column takes up three-forth of the space (see the footer link and social media link at the bottom of the footer) , add span3 class on that column:

<div class="grid4">
	<section class="span3"></section>
	<section></section>
</div>

To add icons for the second level pages (see Admissions landing page), use the icons24 (24 is the dimension in pixels that all the icons were downloaded) class:

<div class="grid3 icons24">
	<a href=""><img src="" width="50" alt=""></a>
	<a href=""><img src="" width="50" alt=""></a>
	<a href=""><img src="" width="50" alt=""></a>
</div>

Instructions for Restoring Course Schedules in MODX

  1. Duplicate the entire course schedule directory. For example: 2016 Course Schedule and rename it to 2015 Course Schedule.
  2. Open up the directory you just copied, select Duplicate of 2016 Fall. Rename Title and Long Title to 2015 Fall. Rename Source Alias to 2015_fall.
  3. Open up the static HTML page.
  4. Search ../../.. and replace with nothing (blank).
  5. Search for .html and replace with nothing (blank).
  6. Search for ../../courses/ and replace with /academics/courses/
  7. Search <img class="icon" src="assets/images/icons/pdf.png" alt="PDF file" width="16" height="16" /> and replace with nothing (blank).
  8. Search <br /><img src="/assets/images/icons/weather_sun.png" alt="" width="16" height="16" /> and replace with nothing (blank).
  9. Search <br /><img src="/assets/images/icons/moon.png" alt="" width="16" height="16" /> and replace with nothing (blank).
  10. Replace <img src="/assets/images/icons/pencil.png" alt="" width="16" height="16" /> and replace with nothing (blank).
  11. Copy the page starting from the list (ul) all the way down to the end of the table (<!-- END HERE-->).
  12. Add this class <div class="table-wrap"> before the opening table element and </div> after the closing table element to make the page responsive.

For anchor links on pages prior to modx, replace:
2000fall.html#
with:
[[~[[*id]]]]#

Add this to the top:

<ul>
<li><a href="[[~[[*id]]]]#schedule">Schedule</a></li>
<li><a href="[[~[[*id]]]]#assignments">Assignments</a></li>
<li><a href="[[~2481]]">Archives</a></li>
</ul>

Remove the following entirely:

<img src="https://www.law.gmu.edu/images/new.gif" alt="" width="25" height="12" border="0">

<img src="assets/images/icons/pdf.gif" alt="PDF Document" width="16" height="16" />

<span style="font-family: Arial,Helvetica,sans-serif;">

<span>

</span>

_2012summer001.html

Replace:

../../courses/

with

/academics/courses/

How to Connect Google Sheets to Contact Forms

After creating your form, click on the Google Sheets tab:


On your Google Drive account, create a new Google Sheet. Save it as something memorable.

You will need to grab the name of the sheet, the Google Sheet ID (directly from the URL of the sheet), and the Tab name (default is Sheet1).

Paste it in the fields below:


Once you have that, map the column names to the form field names you’ve chosen for your form. Pay close attention to the order of the field names. As you go down the form grabbing names, you need to paste them into the first row, moving from column to column, left to right.

Examples of the fieldnames below:


Test your form first to make sure the data is being pulled into your Google Sheet before releasing the form.

Creating “In the News” Content

“In the News” content can be found under Resource ID 11086 and should be contained within the year of posting.

The simplest way to create an “In the News” item is to duplicate an existing resource from an existing faculty. Once you make a duplication, uncheck the published radio button to prevent the resource from showing up in the public

In fields 1 and 2, enter the headline of the content. For consistency, do not preface the name with “Professor”.

In field 3, enter a readable url that matches with the title of the content.

On the Template Variables tab, scroll down to “URL for in the News”. Enter the link to the article, and be sure to include the Source in the “Source for in the News” field below:

Submitting A New Event on EMS

The Event Management System allows events to be added to the Master calendar as well as the Special Events calendar that will display events on the EMS RSS Feed.

Note: You must have administrator privileges in order to make the following changes.

  1. Check the featured event box if you want the event and corresponding image to be seen on the master calendar carousel. This is not required.
  2. Add the Event Title
  3. Add the Event Link. This is usually the registration link, or the link to the event found on the Center’s website
  4. Copy and paste the Description using the HTML Editor.

  1. The contact name and email will be filled in automatically. Check the hide box if you want your contact information hidden from being displaying
  2. In the Calendar drop down, you may select multiple entries. If you only want the event to appear on the homepage RSS feed, select Special Events
  3. Enter the Center or School name under department
  4. Enter the Name of the location and link. The link field is not required.

  1. Specify the time and whether or not the event lasts all day.
  2. Include the Event Image for every event.

MODx comments

MODx comments will not appear when viewing the source code of a page. This is especially useful when trying to keep old banners on the homepage while having it out of sight.

To use MODx comments, use the following syntax:

[[- ]]

Kiosk Database List

The Kiosk page is handled by a MODx Ditto. Each entry can be found within the “Find Books, Articles, and Databases” bucket inside the MODx Tree.

To edit the description of an individual entry, navigate to the Template Variables tab, click on “Library” and edit the Description field. Make sure not to include any HTML code inside this field.

Course Schedule Conversion for MODX

This tutorial walks through the steps to convert course schedule from Excel file into MODX.

  1. Open up the original Excel file (provided by Deborah), merge multiple faculty into one row, then delete all the empty rows.
  2. Open up the Course Schedule Sample Excel file
  3. Copy and paste each column such as Course Title, Credit, and Course Number into the sample Excel file. Do it for both Day and Evening courses.
  4. Once everything is in place, copy all (except for row 1) from the Excel file to an HTML editor:

    <div class="table-wrap">
    <table id="course-schedule" class="sortable" border="1" cellspacing="0">
    <tbody>
    <tr>
    <th>Sched.</th>
    <th>Course Name</th>
    <th>Num. (Sec.) CRN</th>
    <th>Instructor(s)</th>
    <th class="unsortable">Days, Time</th>
    <th>Final Exam</th>
    <th class="unsortable">Syllabus</th>
    </tr>
    <!--SCHEDULE STARTS HERE-->
    <!--Paste the table from Excel into here-->
    <!--SCHEDULE ENDS HERE-->
    </tbody>
    </table>
    </div><!--end table-wrap-->

  5. Save as an HTML file and view it in the browser. Clean up all the extra spaces using Search & Replace. For examples: ( 3 cr) to (3cr) and ( 001 ) to (001)
  6. Next, perform Search & Replace for notes items: //, (W), (E), +, and (N.1) to (N.9)


    <a href="[[~[[*id]]]]#permission" title="With witten permission of instructor only.">//</a>

    <a href="[[~[[*id]]]]#writing" title="This course has been designated as a writing course.">(W)</a>

    <a href="[[~[[*id]]]]#experimental" title="This course has been designated as an experiential course.">(E)</a>

    <a href="[[~[[*id]]]]#prerequisites" title="This course has prerequisites.">+</a>

    <a href="[[~[[*id]]]]#n1" title="See Note 1">(N.1)</a>

    Note that (N.1) to (N.9) are different for Day than Evening. For Evening change the anchor ID from #n1 to #n1-eve.

  7. Copy and paste notes from the original Excel file to the bottom of the HTML page. Reformat the notes to include all the anchor links.
  8. Once everything looks good, paste into MODX

    Change text case

    This step is not required, but here’s are tips for change the case of text in Excel.